GLITTERy CARDS
With Guest Designer Emily Leiphart
Please give a big welcome to our talented guest designer, Emily Leiphart!
Emily brings some serious Canadian talent to the table and we couldn't be more humbled to have her joining us this month! Her cards STUN with intricate layers and color. We absolutely LOVE her videos, too! Have you checked them out yet? We've included links below to her blog and insta, where she shares her creativity, so you can take a peek!
In today's post, Emily has worked magic with Pigment's Christmas release and her glittery touches make these cards perfect for sending a little Holiday sparkle to someone special. Come on, let's take a peek!

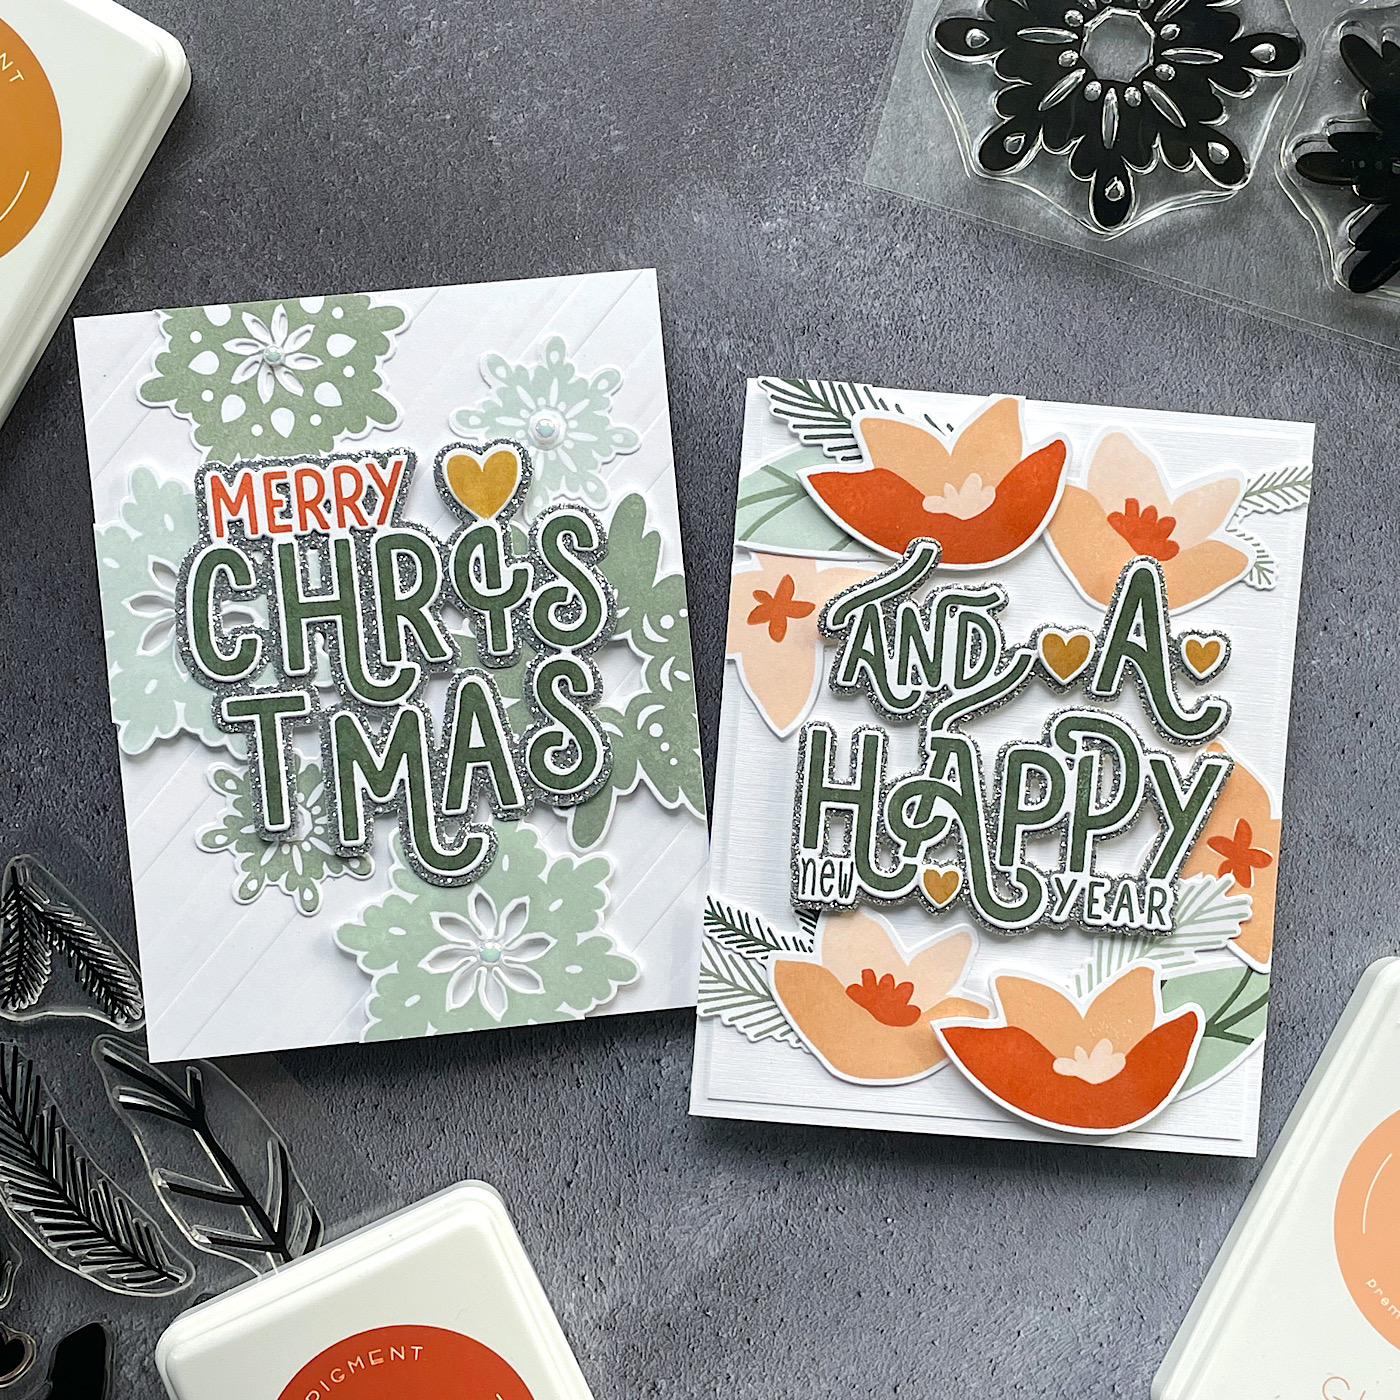
Hello, crafty friends! I'm so excited to be posting here on the blog today with these two cards using products from the October Release! As I've mentioned before, I love anything font-related and these two Merry Christmas and Happy New Year stamp sets and coordinating dies had to be highlighted!

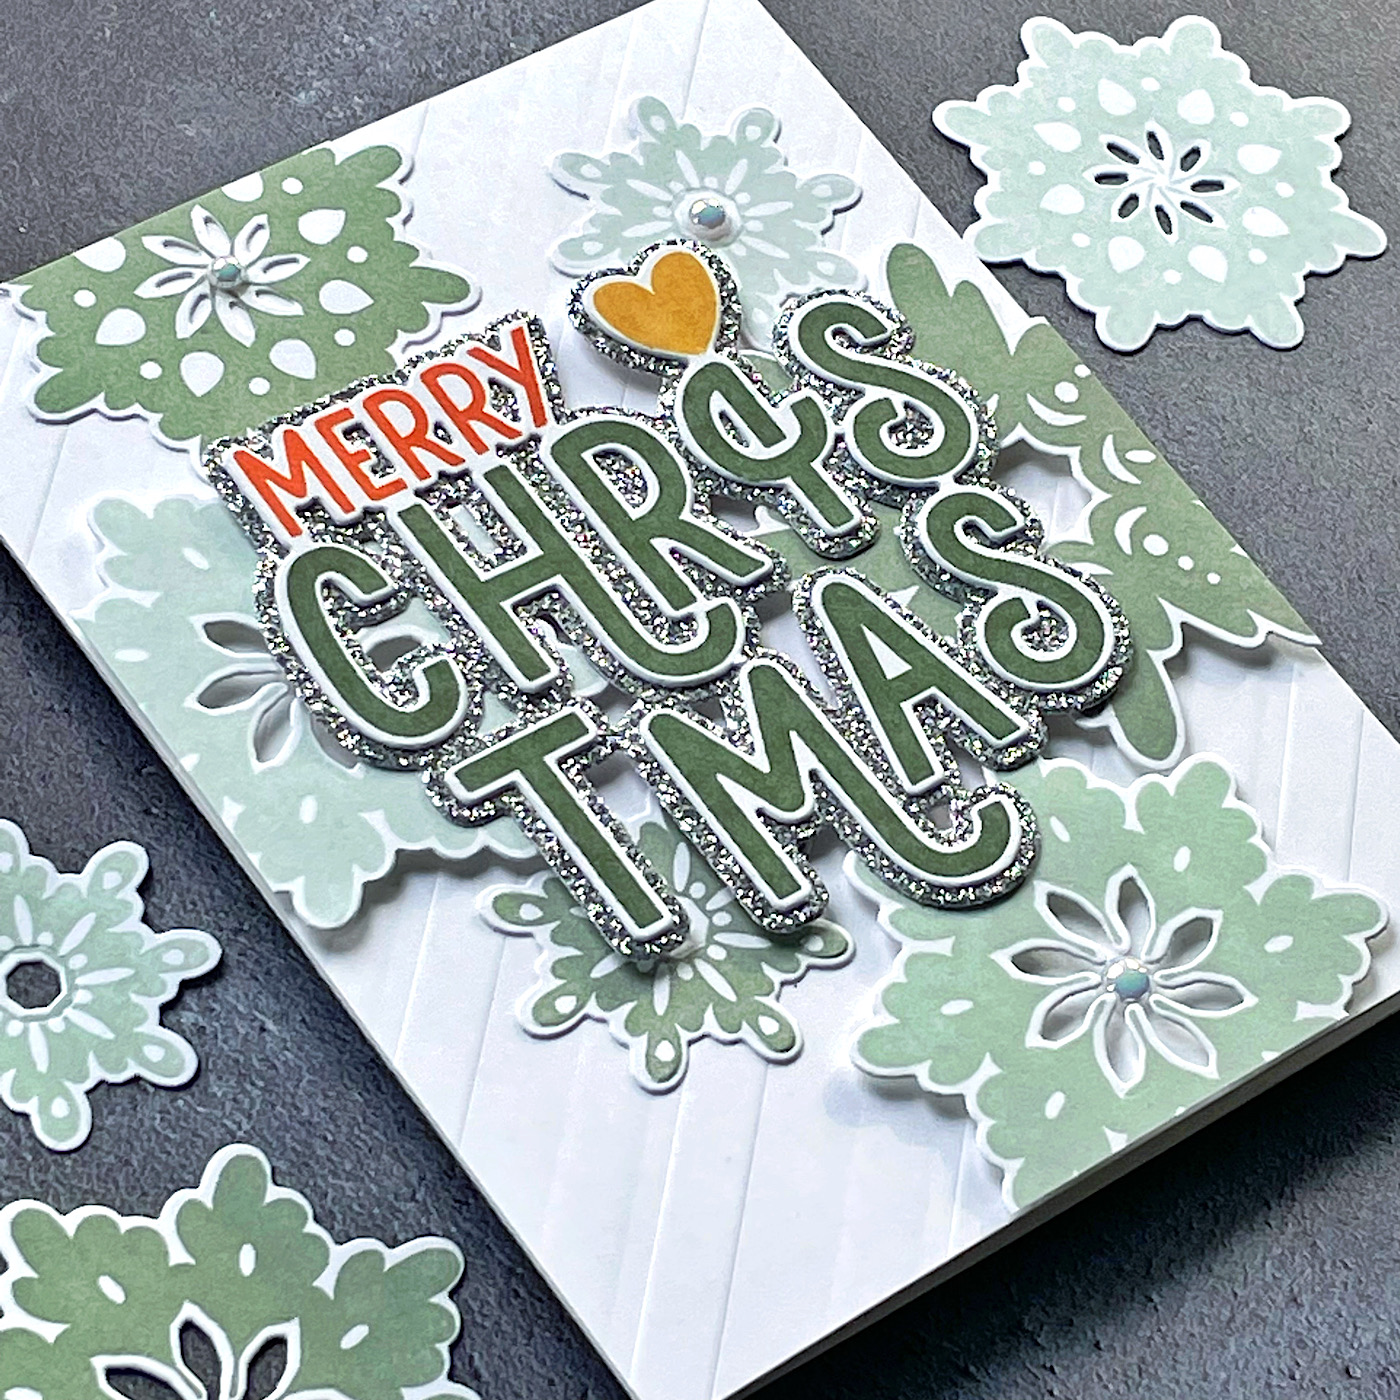
To create the Merry Christmas card, I first used the Bold Diagonal Stripe Stencil to dry emboss the background panel. I ran both stencils through my die cutting machine at the same time, using the embossing pad and plate to get the double striped detailing and I love the way it looks!

Then I stamped several Whimsy Snowflakes using Jade, Eucalyptus and Sage inks. After using the coordinating Whimsy Snowflakes Dies, I arranged them on the dry embossed panel, popping up three on foam tape and glueing three flat.

I stamped Merry Christmas using Fig, Tumeric and Fir inks, then die cut it using the coordinating Merry Christmas Dies and silver glitter cardstock. After assembling the card, I added white pearls in the centres of three of the snowflakes.

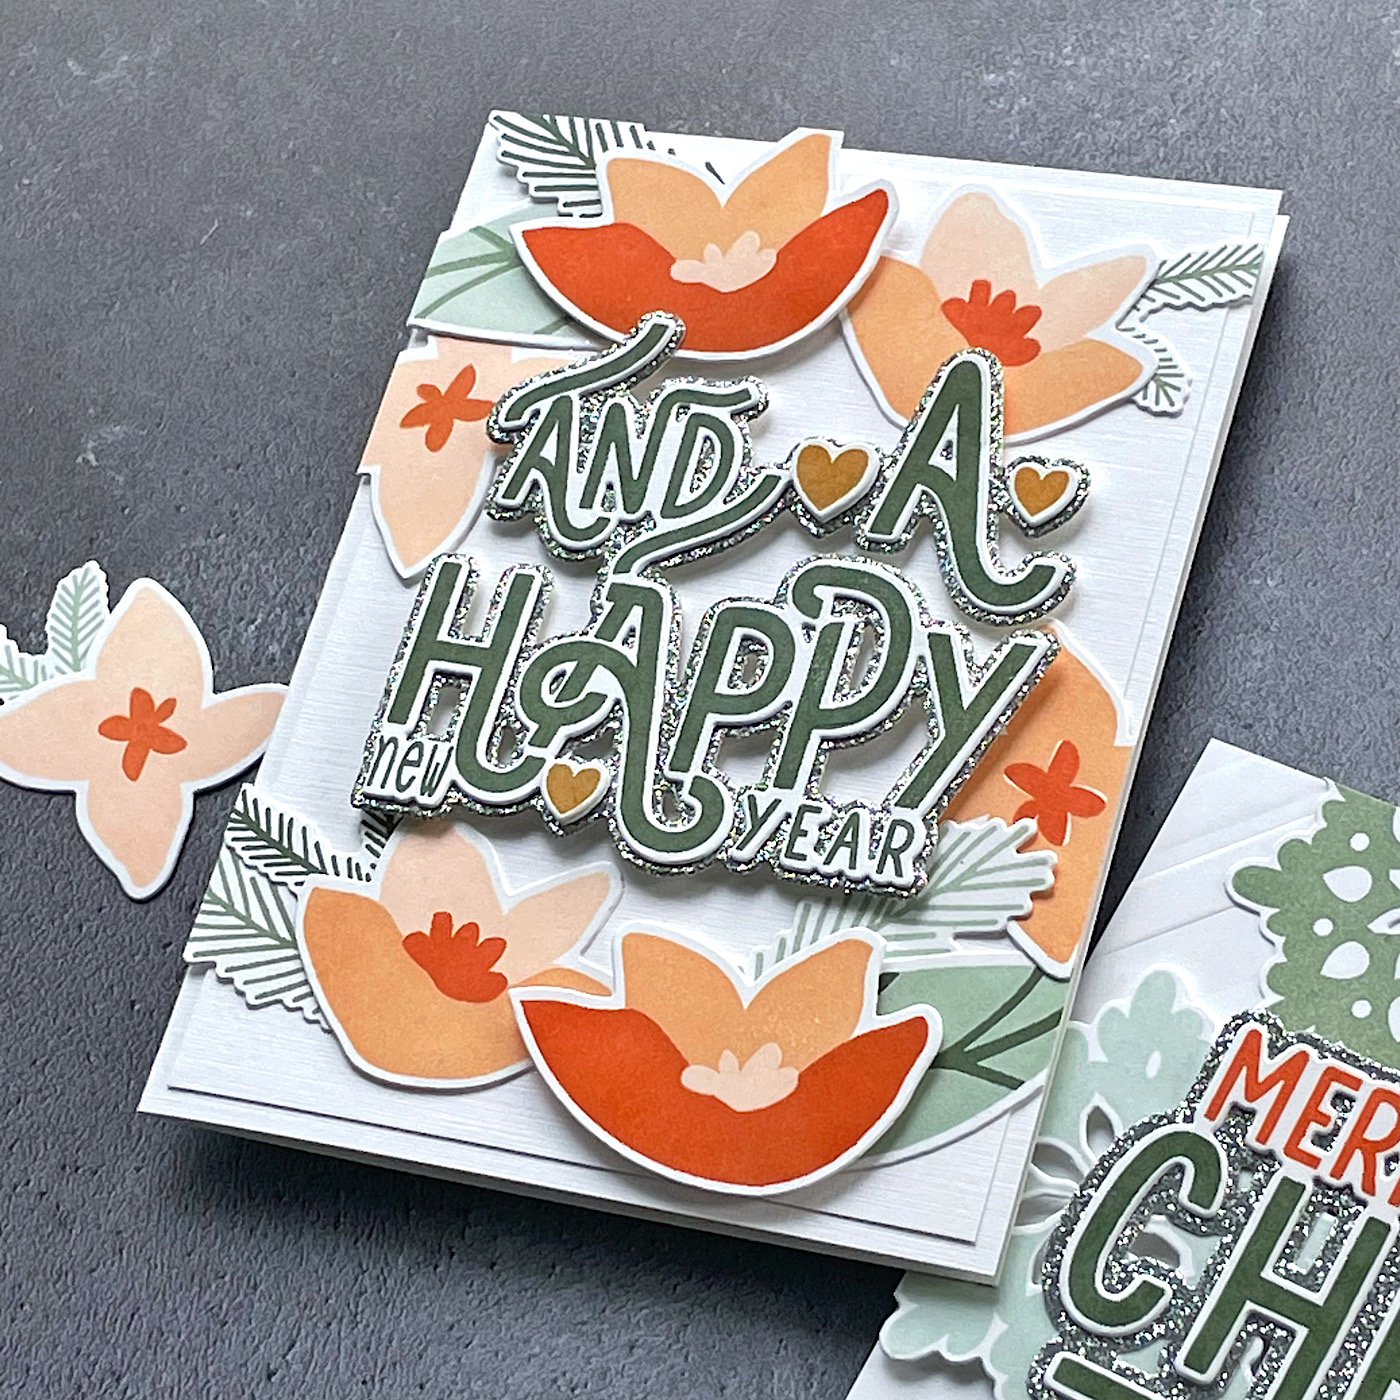
For my Happy New Year card, I created my card base and panel from white linen cardstock before stamping the blooms and foliage from the Festive Floral stamp set. The ink colours for the flowers are Glow, Quince, Terracotta and Fig. The ink colours for the foliage are Jade, Eucalyptus, Sage and Fir inks.

I die cut the stamped images using the coordinating Festive Floral Dies and arranged them around the perimeter of the card, popping the biggest flowers up with foam tape and attaching the rest with a combination of glue dots and liquid glue.

I stamped Happy New Year in both Fir and Seagrass, so I could use the Seagrass hearts as accents. Again, I used silver glitter cardstock as the shadow cut from the Happy New Year Die to make this as festive as possible! Thanks so much for stopping by! I hope these projects inspire you to create this week.
YOU CAN VISIT MORE OF EMILY'S CREATIONS AND HER CARDS OVER ON HER BLOG HERE.
SUPPLIES
FROM THE SHOPPE
Guest Designer Spotlight
GET TO KNOW EMILY

GET INSPIRED AND SEE MORE OF EMILY'S WORK HERE.
I’ve been making handmade cards since I was a little girl and I started collecting stamps about 20 years ago. When I started blogging shortly after my son was born, I was mainly a Copic colourer and fussy cutter, as there were no layered stamps and die cutting hadn’t really taken off. I only had two ink pads - black and brown - and I couldn’t imagine why anyone would need coloured ink pads. LOL Now I’m obsessed with layered stamps and coloured ink pads that do all the work for me! It’s instant gratification and I love being able to brighten someone’s day with my handmade cards. I’m obsessed with all of Pigment’s beautiful and cleverly-designed products and I’m honoured to be inspiring you with the new release products this month!
- Emily
Thanks For Joining Us.
We hope these beautiful projects help you embark on a creative journey!


Get Creative.Tag Us.
If you love Pigment products, and want to be featured, be sure to tag us up on insta when you share your projects. Don't forget to use our hashtags
#pigmentcraftco #aworldofcolorawaits
For even more inspiration, news, and exclusive projects, join our creative community on insta @pigmentcraftco


